Standard Forms — Create, Edit, Delete
Every record screen in the app works the same way. Learn it once — how to add a new record, change an existing one, and remove it — and you can work in any screen.
The three states of a form
A form is a header bar at the top (title, status, and the buttons) over a set of card sections you scroll through. The buttons change depending on what you're doing:
| State | When you see it | Buttons |
|---|---|---|
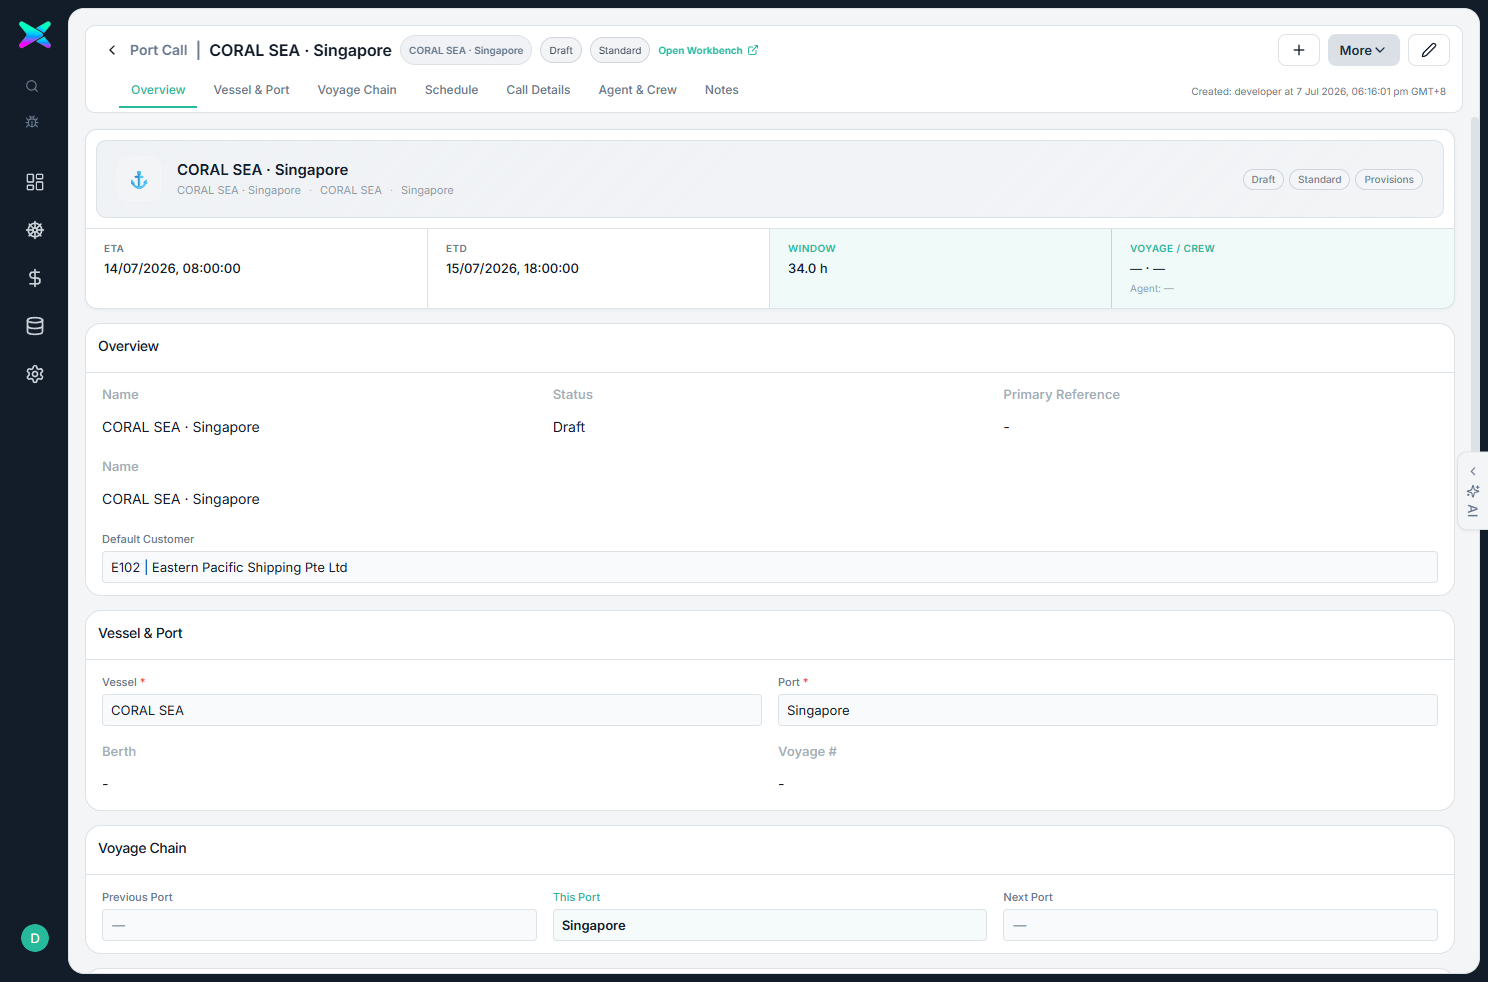
| Viewing | You opened an existing record. It's read-only. | + New · More · Edit |
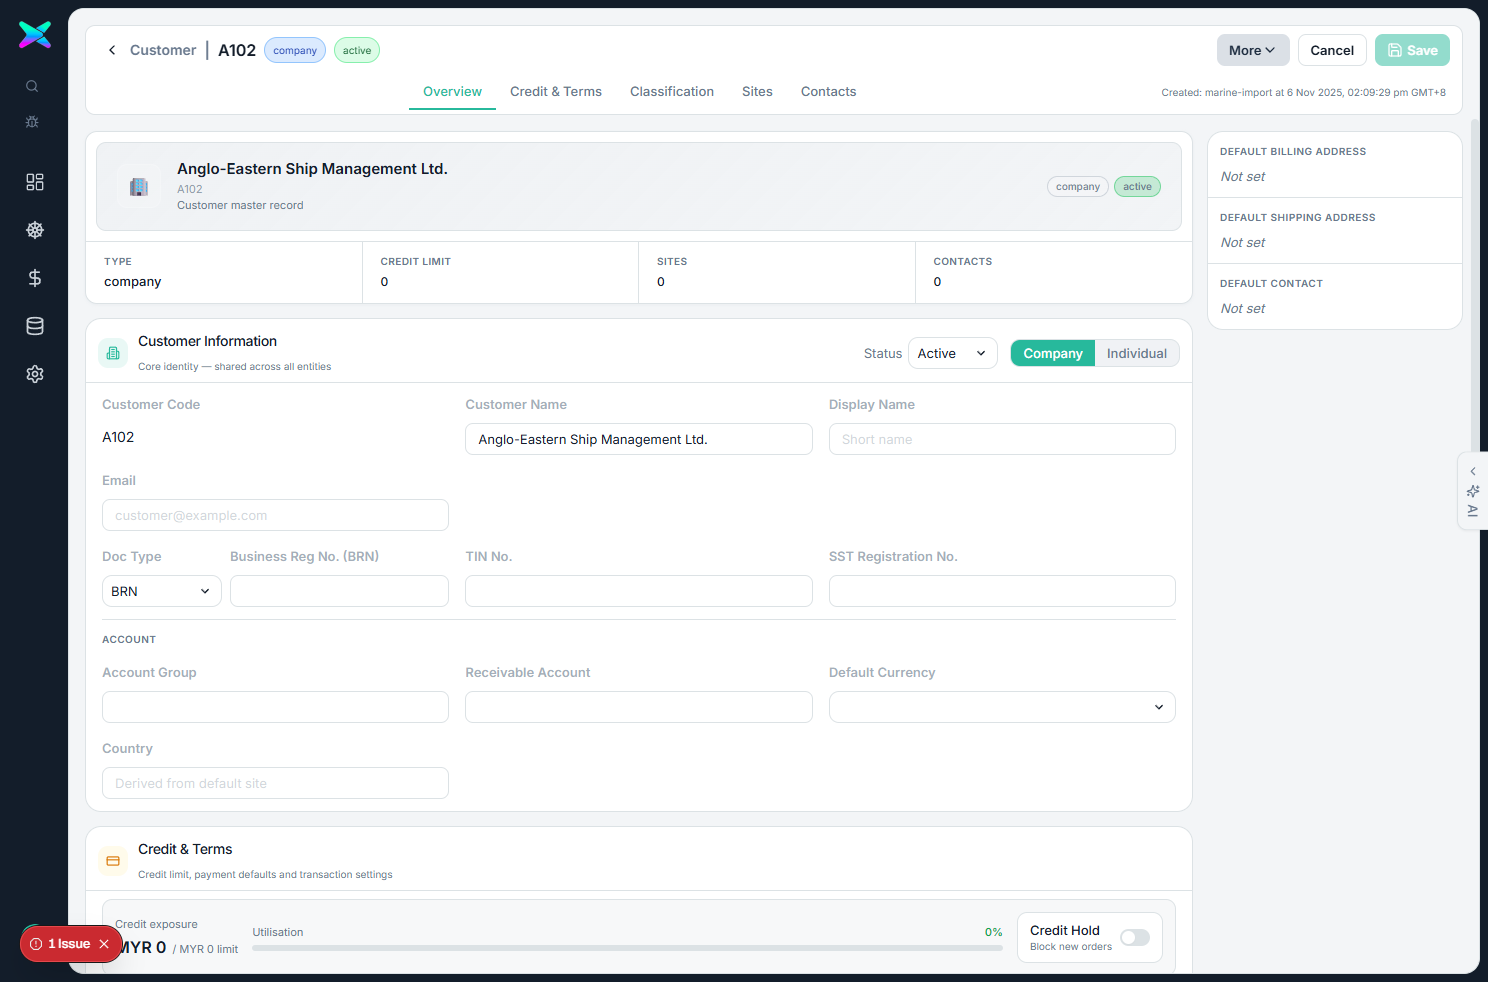
| Editing | You pressed Edit. Fields are now changeable. | More · Cancel · Save |
| Creating | You pressed + New. A blank form. | More · Cancel · Save |
When viewing, each field shows its value as plain text. When editing or creating, the same field becomes a box you can type in or a menu you can pick from. Buttons to add or remove items in a table only appear while you're editing or creating.
Adding a new record
- On the list, click + New. A blank form opens.
- Fill in the required fields — these are marked with a red star *.
- For documents, add line items in the item table (each line has its own row to fill in).
- Click Save. The record is created, its document number is assigned automatically, and the form reopens in view mode.
Changing a record
- Open the record (click its row) — it opens read-only.
- Press Edit. The fields unlock.
- Make your changes. Save stays greyed out until you actually change something.
- Press Save to keep your changes, or Cancel to throw them away and go back to the last saved version.
Changing a document number
Document numbers are filled in automatically and shown read-only. To change one, click the little pencil next to it — a small dialog lets you enter a new number and checks it isn't already used.
Removing a record
Delete (or Archive) lives inside the More menu. Reference records (customers, suppliers, products) can be deleted outright. Business documents are usually cancelled instead of deleted (look for a Cancel Doc button) so the paper trail and any linked documents stay intact.
Workflow buttons on documents
Documents move through steps, and the buttons available depend on where the document is. For example:
- Sales Order: Confirm Order → (fulfil) → Close; or Cancel.
- Purchase Order: Submit for Approval → Approve → Issue to Supplier → Close; or Cancel.
Each button moves the document to its next step (shown in the progress bar at the top) and may do something automatically — confirming a sales order can message the customer; issuing a PO can email the supplier.
The kinds of fields you'll meet
| Field | How it behaves |
|---|---|
| A short menu (currency, unit, tax, payment term…) | A dropdown you pick from. |
| A search picker (customer, supplier, product, vessel, port…) | A dialog — type to search, press Enter, click the row you want. |
| Money / quantity | Numbers are shown neatly with thousands separators and the right number of decimals. |
| Address (bill-to / ship-to / supplier) | Fills in automatically when you pick the customer or supplier, and is saved with the document (see below). |
What happens when you pick a customer or supplier
Choosing the customer (or supplier) on a document does more than fill the name:
- The screen shows their code and name together, e.g. "A102 | Anglo-Eastern Ship Management Ltd."
- Their bill-to / ship-to address (or the supplier's order-from / pay-to address) is filled in from their default addresses and saved onto this document. Editing it here changes only this document, never the customer's master record — and printed copies always show the address that was on the document at the time.